

How to customize shoes
With a lot of time on your hands, this could be your next DIY project
May 18, 2020
During quarantine I’ve experimented with new art projects. I’ve used a wide collection of different methods like chalk, charcoal, pastels and more. I especially took an interest in acrylic painting. They’re waterproof, odorless, and instant and perfect for clothing, but in particular shoes. I’m going to teach you how to make your own customized shoes.
Step One: Get Shoes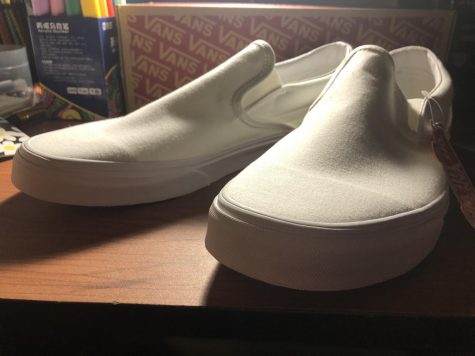
Now, this is obvious you’re going to need shoes. I know crazy but make sure you get a pair that fits the style you’re looking for. Any shoe will work but a plain white is going to be the best option as it allows the most creative control. Also, make sure they comfortable. We wouldn’t want it to be a tight fit.
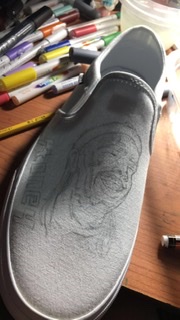 Step Two: Sketching
Great! You have the shoes. The next part is the design. Brainstorm, what you would want to see on a shoe? Maybe it’s your favorite sport like volleyball or soccer. Like food? Have pizza slices or watermelon around it. If you want to get really creative and make something complex do an artist. For my pair I choose Post Malone. I sketched out a face and the album covers to get an idea or how it would look. I recommend using a number two pencil. It works well against the fabric and erases well. A mechanical pencil has a sharp end that does not work well with the fabric. A pen is too dark and is permanent.
Step Three: Trial and Error
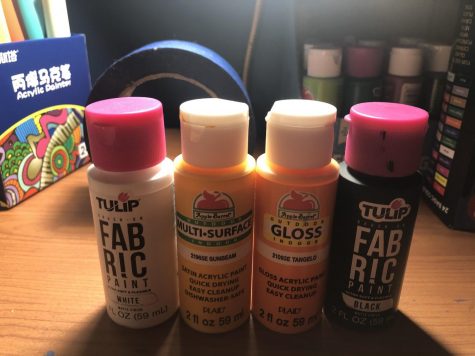
Before we even think about painting we need the colors. You can either use the colors that would go with that design or try something new. Consider the tone of color. Do you want a darker look? Should some parts be lighter? Just a few things to think about. Lay out the acrylic paint you want to use. Label the parts with pencil and the shoes, so there’s no confusion.
Step Four: Preparations
Almost there! One last step before painting. To make sure you don’t accidentally mark areas you didn’t want colored, use blue electrical tape. It’s easy to see and simple to take off without leaving any residue. Don’t worry if you mistakenly paint the rubber, use a disinfectant wipe and graze over the area. It will remove the paint from the rubber and give it the clean look you want. No one will ever know, except you and me.
Also, there are certain utensils you can use. Online you can find different types of acrylic markers that help with details and fine lines. They are harder to come by in stores. Brushes. You need brushes too. Having a collection of different brush types helps cover the shoe. This way you are not ruining the markers and taking more time.
Step Five: Paint!
Finally! Everything is done and you’re ready for the next step. This is the most time consuming, believe it or not. Depending on how detailed your piece is, it could take anywhere from forty-five minute to seven hours. Really depends. I recommend to complete the individual pieces first then work on the larger parts that take up the shoe. Let them dry before moving onto other parts. You might want to add more layers if you are not getting the results you want. After the product is done remove the electric tape and maybe walk around in them and of course show them off on your Instagram.
